How to Build Your Karaoke Machine at Home
What You Need to Start
To make a home karaoke machine, pick top parts. You need a good microphone with an XLR plug for clean sound. Use a sound mixer or interface that handles at least 50W RMS for controlling and tuning your sound.
Setting Up the Sound
Powerful speakers with big drivers give strong sound important for karaoke. Join these with a clear screen to see the words well. Set the mixer levels right for good sound balance.
Setting It Up Right
Keep sound peaks low to stop noise but strong for good volume. Put the mic near the source, at a good angle to cut down on bad sound and keep your voice clear.
Picking the Right Software
Get karaoke software that plays many types of files:
- .kar files
- .mid files
- .mp3+g files
- .cdg files
Your software should let you change the sound a lot, with a 10-band equalizer for the best sound setting. This helps with different sounds and music types.
The Must-Have Stuff for Making Your Karaoke Machine
Key Parts Needed
A good DIY karaoke set needs parts that work well together.
This guide shows you what to get for great sound and performance.
Starting With Audio
The karaoke setup starts with a good mic using an XLR plug.
A small mixer or digital interface handles the sound well.
Include a strong mic stand, shock mount, and pop filter for top voice quality.
Handling Sound
- Sound amp (at least 50W RMS)
- Big speakers with wide driver
- Top cables (XLR, RCA, or 1/4-inch)
- Sound enhancer
Screen and Processing
- Big HD screen (at least 19 inches, 1080p)
- Computer with 4GB+ RAM
- Karaoke software for many formats (.cdg, .mp3+g, .kar)
- Cables for video (HDMI/VGA)
Power and Backup
Include a 300W backup power unit for no breaks during a show.
Use surge protection and good grounding for safety and lasting use.
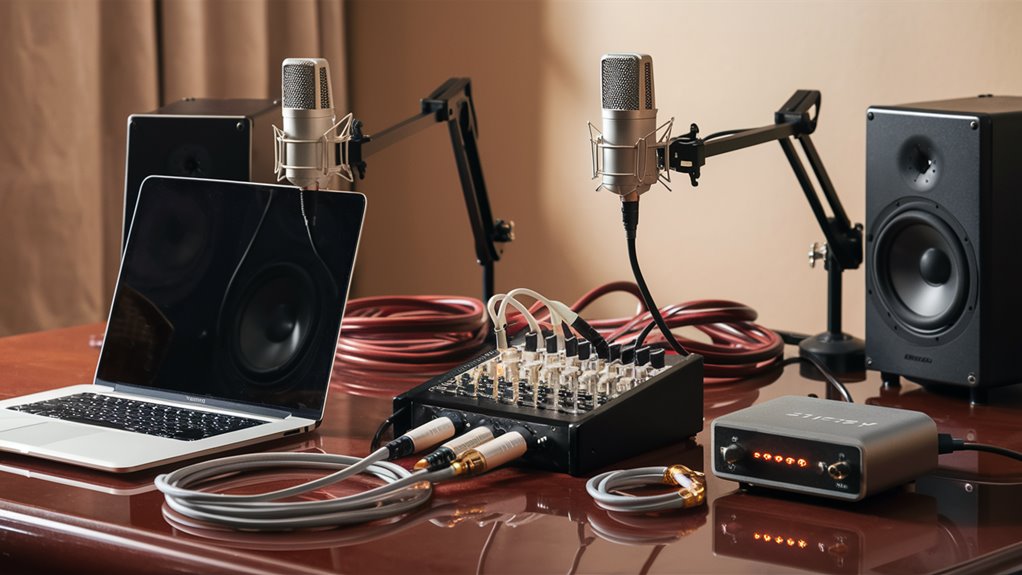
Set Up Your DIY Sound System
Important Audio Fixes
The sound system setup needs careful work for top sound. Start by linking your mixer, input tools, and speakers right.
Plug In Everything Right
Link your mic to the mixer’s XLR or 1/4-inch input, keeping levels right for clear voice.
For music, connect your sound source to the mixer’s RCA or aux inputs with safe cables to stop bad signals.
More Sound Setting
Connect your big speakers or amp to the mixer’s main outputs. Check for power match if using normal speakers.
Keep the main sound level low to allow changes during a show.
Tune Your Sound Right
Adjust your sound settings starting from a clear point. Use a high-pass filter to cut out low noise.
Make your voice stand out by lifting the mid-range sound. Test with upping the volume to find and fix any bad sound spots. How to Overcome Stage Fright and Sing Confidently
Finding Great Karaoke Software
What the Software Needs
Choosing software needs careful look at important points.
Key things are supporting many file types, easy use, and great sound mixing.
Top programs like VanBasco’s, Karafun, and KaraokeMedia Home are good examples.
Playing Different Formats
Being able to play many formats is key. Needed formats include .kar, .mid, .mp3+g, and .cdg.
This helps with many song options and performance levels.
Your system must show words very clear at a quick rate with simple song moves.
Control and Mixing Sound
Top sound control needs complex features. Main points are different voice and music tracks, with a 10-band equalizer.
Sound tweaks should cover pitch and pace changes, and real-time sound effects.
System needs include 4GB RAM and a fast processor for smooth running.
Best Ways to Set Up Mics
What You Need in a Mic
The start of top sound is picking a mic that does the job well:
- Good frequency response: At least from 50Hz to 15kHz
- Right sensitivity level: From -55dB to -45dB
- Pickup pattern: Cardioid is best
Suggested Mic Gear
USB Mics
- Audio-Technica ATR2500-USB
- Blue Yeti
Prices from $100-150
They should at least get a 16-bit/44. 1kHz sample rate
XLR Options
- Shure SM58 mic
- Focusrite Scarlett Solo interface
Place Your Mic Right
Best Spot
- Keep the mic 6-8 inches from the sound
- Angle it at 45 degrees
- Use a shock-mount stand to stop shakes
- Set preamp levels from -12dB to -6dB 여행자 주의사항 보기
Make the Sound Better
- Put a pop filter near the mic
- Do sound tests for:
- Popping sounds
- Sharp ‘s’ sounds
- Background noise
- Clear signal
This setup will give you studio-level sound recording while cutting down on bad noise.
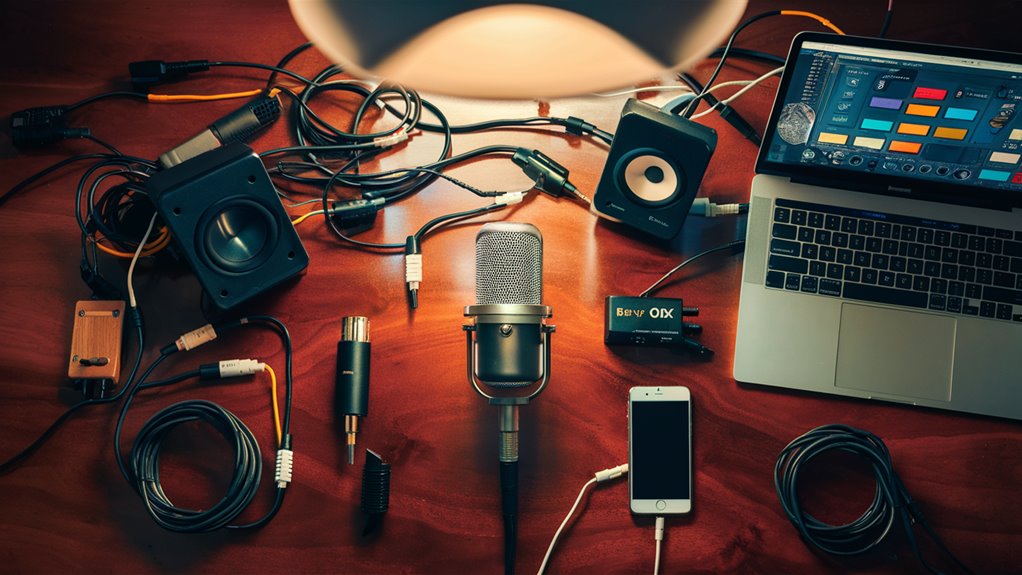
How to Link Your DIY Karaoke
The Parts to Connect
Start with the mic link.
For regular mics, use an XLR cable from your mic to the audio interface, making sure it’s secure.
USB mics just go into your computer’s USB spot.
Sound and Speakers
Join your audio interface to the computer with a USB or Thunderbolt cable.
For great sound, set up XLR or TRS cables from the interface to your powered speakers.
If using normal speakers, add an amp before them.
Screen and Power
Set up your display by linking your computer to a TV or screen with a HDMI cable.
Use two screens – one for words and one for controls.
Make a strong power system with a high-rated surge protector. Check all links and grounding before you start.
Try Out Your DIY Karaoke
Key Tests to Do
Check Mic Input
Link your mic and set the mixer gain to 50%. Talk normal and watch the LED levels.
Tweak it till you get the best peaks without noise. This makes sure your voice comes out clear and sharp.
Tune Playback Sound
Pick a top track for testing. Set the speaker sound to 75% and listen.
Look for any bad sound, humming, or noise. Check all connections and ground spots if you hear weird sounds.
Run the Full System
Try a full test with actual karaoke tracks. Set the music-to-voice mix right. Watch both the main and stage outputs.
Keep the time lag low – under 20ms is best for quality. Change buffer settings as you need to keep the timing tight.
Help With Your Karaoke System
Sound Issues and Fixes
If you’re setting up your karaoke and hit sound troubles, look at it fast. For no sound, check all cables and double-check mixer levels.
To stop mic feedback, keep it far enough from speakers (at least 6 feet) and tweak EQ to focus on the 250-500Hz range.
Video on Time
Screen lag can ruin a show. Use Game Mode on new TVs for quick response, under 20ms.
For matching words to music, adjust the audio delay using 50ms steps till it looks right. Check software health by clearing old files and making sure you have at least 4GB RAM and a fast dual-core processor.